6 Yoga Poses To Add in Your Practice That Will Help Shift Your Energy

Disclaimer: As always, check with a doctor before making any changes to your exercise and fitness regimen. The author and blog disclaim liability for any damage, mishap, or injury that may occur from engaging in any activities or ideas from this site. The information presented is for entertainment purposes only.
We’re halfway through 2021. Whew! It’s been quite the ride so far. I don’t know about you but I have been observing and feeling intense energy for the entirety of this year. In the past 2 to 3 months, I’ve seen these energies heighten even further, sometimes manifesting as irritability, anxiety and depression.
If you’ve been felling any of these emotions, this post is for you! A great way to transmute energy when you’re on edge is to find your center or ground. Yoga is a fabulous tool to help with this, especially when you practice consistently.
Below you will find 6 poses to incorporate into your practice to shift your energy from a frantic state in to one of calm centeredness.
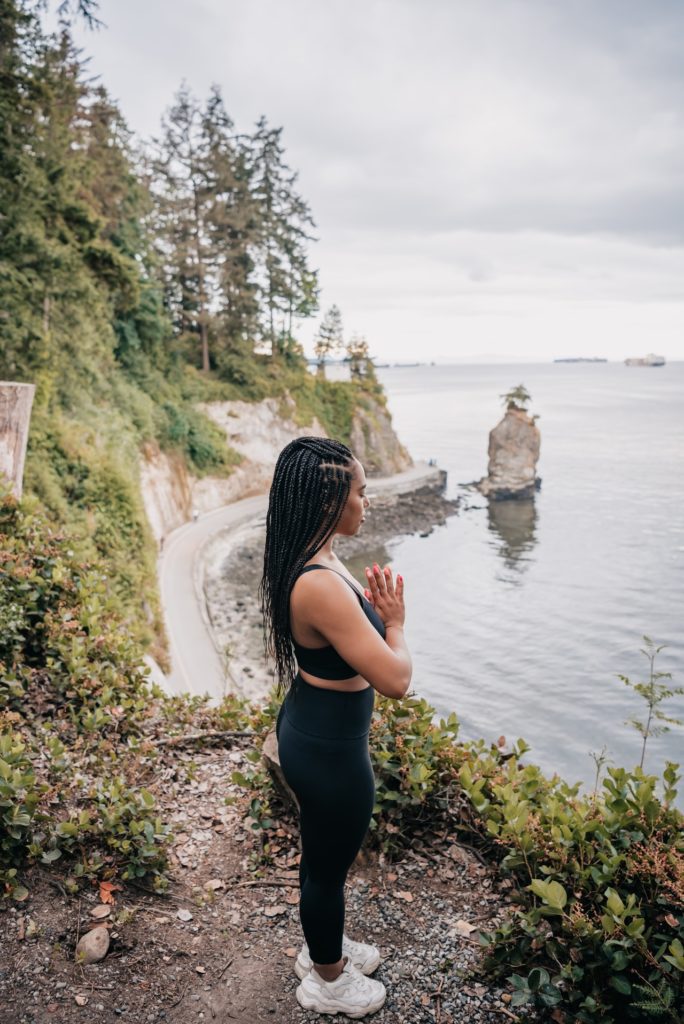
1. Mountain pose [Tadasana]
This deceptively dynamic pose is quite refreshing once you get the hang of it. One of my favorite grounding poses.
- Steps
1. Stand erect with both feet on the ground, together or as close together as possible, with arms resting relaxed at your sides.
2. Distribute your weight from the middle of each foot outwards into the balls and heels of each foot.
3. Lift your toes off the mat to help with this weight distribution. And then bring back down to rest on the mat.
- Areas to Watch & Modifications
1. Knees: Prevent locking of these joints by keeping a micro-bend in the legs (legs should still appear straight).
2. Bring hands to prayer position in front of your heart space.
- AVOID if:
1. You have weak leg muscles
2. You cannot stand upright for long periods of time
2. Tree pose [Vrksasana]
Balancing poses are excellent at bringing one back to earth. The trick for this pose is imagining you are an actual tree with roots radiating deep into the earth.
- Steps:
1. From mountain pose, shift your weight to your left leg. Bend knee of right leg with toes remaining on the mat.
2. Open your right leg out away from your body in a perpendicular position to your left leg. Allow your right heel to rest just above the ankle of your left leg.
3. Bring your hands together in prayer position at your heart center.
4. Slide your right foot up the inside of your left leg to rest flat on your inner thigh.
5. Remain in this position for 2 to 3 breath cycles or as long as is comfortable.
6. Gently bring right leg back to the mat to rest in mountain pose.
7. Repeat on opposite side.
- Areas to Watch & Modifications:
1. Knees: Avoid resting the floating foot on the standing knee. Added pressure to this joint can result in injury. Keep a micro-bend in the knee to prevent locking of the joint.
2. Shift the position of your floating foot to a lower position to help with balance. Leave toes on floor with heel resting on standing leg or allow foot to rest your calf.
3. Allow hands to rest chair or wall placed in front of you for extra support.
- AVOID if:
You have an inner ear or balance disorder like vertigo or Meniere’s disease
3. Warrior III pose [Virabhadrasana III]
This is a wonderful physical representation of remaining grounded in the midst of storm or in this case, one-legged foundation.
- Steps:
1. Begin in mountain pose.
2. Bring hands to rest on hips.
3. Shift body weight to left leg.
4 Lift right foot off the mat, bringing leg into a floating 90 degree angle.
5. Glide right leg back behind you. Straighten leg as it moves into a position parallel to the floor, or as high as your body allows
6. Allow upper body to bend forward aligning with back leg and becoming parallel with the floor.
7. Extend arms out fully in front of you, also parallel to the floor in superman position. Palms can face one another or the mat. Allow neck to align with the rest of the spine. Eyes directed down towards the mat.
8. Keep eyes open. It’s easier to find your balance when eyes are open with your gaze settling on a fixed point in your line of sight.
9. Remain here for 2 to 3 breath cycles before releasing back to mountain pose.
10. Repeat on opposite side.
- Areas to Watch & Modifications
1. Knees: Keep a micro-bend in standing leg to prevent locking or injury.
2. Leg: Bring floating leg as high as is comfortable for you. Or consider allowing tops of toes to gently graze the mat. If you choose this modification, allow your upper body to naturally shift up away from parallel position. Arms should remain extended towards the sky.
3. Use a sturdy chair or wall for extra support.
- AVOID if:
1. You have high blood pressure
2. You have Spondylitis
3 You have back problems
4. You are experiencing a migraine
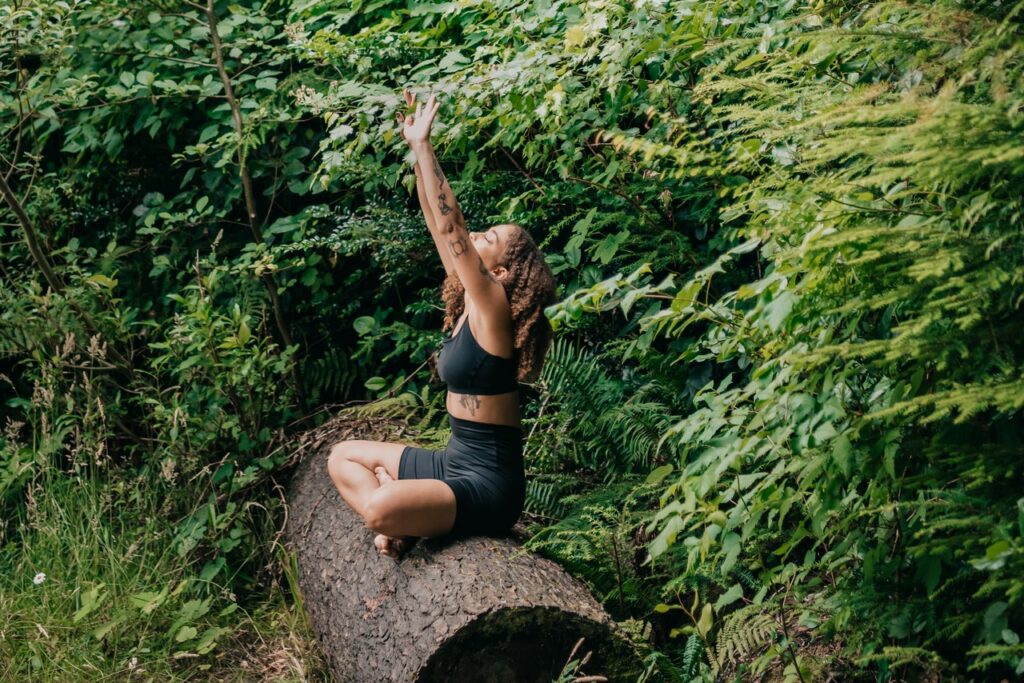
4. Easy pose [Sukhasana]
Named for the general ease with which practitioners are able to remain in this position, this is an ideal pose to settle into when practicing yogic breath-work (pranayama) or meditation
- Steps:
1. Sit on your mat with legs crossed and sides of both feet touching the mat.
2. Sit tall with spine erect, perpendicular to the floor and hands resting on mat alongside hip points or on your knees.
3. Remain in this position for as long as your body allows.
- Areas to Watch & Modifications:
1. Spine: If your back is curved backwards, bring the hips above the knees by sitting on a blanket or towel. This helps to move your spine into a more erect alignment.
2. Feel free to bring hands into prayer position or another hand position (mudra) for an added energetic boost
- AVOID if:
1. You have arthritis in the knees
2. You have had knee surgery
3. You have a backache or spine issues
4. You have sciatica
5. Extended Child’s pose [Prasarita balasana]
It’s rare to ever rest the forehead on the mat as a yogi. This pose offers this opportunity and is one of the most calm-inducing positions in my repertoire.
- Steps:
1. Bring knees and hands to the mat with your back straight, parallel to the mat. Position hands directly below shoulders and knees directly below hip points.
2. Bring big toes to touch behind you.
3. Walk each knee out to touch the side of the mat closest to it
4. Move hips backwards towards your feet. Let your buttocks rest on your heels if your body allows.
4. As you move backwards, keep your palms planted as long as possible. Drag them along the surface of the mat only after your arms have straightened into an extended position. Coming to rest again once the pelvis finds a stopping point.
5. Settle completely into the pose by bringing your forehead to rest on mat.
6. Breathe. Remain here for as many breath cycles needed to fully relax.
- Areas to Watch & Modifications:
1. Neck: If uncomfortable, rest forehead on a block or towel.
2. Knee: Place a blanket or towels underneath these joints if the pressure is uncomfortable.
- AVOID if:
1. You have a knee injury
2. You have a hip injury
3. You have a lower spine injury
4. You have problems with your ankles
5. You are in the later stages of pregnancy (e.g. late 2nd/3rd trimester)
6. Corpse pose [Savasana]
This pose is often described as the easiest to perform, but the hardest to master. For our purposes, it’s a great pose to ground oneself after a tough day or a lively vinyasa session.
- Steps
1. Lie flat with back on the mat. Legs are slightly ajar with feet falling open to the sides.
2. Allow extended arms to rest on mat slightly away from body in a comfortable position.
3. Release all tension and allow body to melt into the mat, into the floor and into Mother Gaia herself. Stay here for as long as you are guided.
- Areas to Watch & Modifications:
1. Back: If this area is uncomfortable when lying flat, consider placing a bolster or blanket underneath the lower back, for added support. Also, bending your knees and bringing your feet to rest flat on the floor to releases pressure on your lower back.
2. Limbs: Your feet, arms and hands may not come to rest in a symmetrical fashion. That’s actually pretty normal. Find a position that works best for your body.
3. The Mind: Instead of using your time in this pose to critique your day or go over your to-do list, simply be in the moment. Bring your awareness to your body and observe.
- AVOID if:
You have severe heartburn or acid reflux
Ahhh…are you relaxed yet? I am!
Consider taking your practice outside to gain the added grounding benefit from being in nature.
If you want extra guidance, check out the Health and Healing section in the Outdoorsy Black Women app or website.
Take ownership of your practice and only do what feels right. Your body tells you exactly what it needs, you only have to listen.
Stay safe, be well and remember…the answer lies within.
Sources:
Yoga Anatomy by Leslie Kaminoff 2007
Tummee.com
Arabella Gibbons is a 200 hour-trained yoga teacher who loves leading others to practice yoga for its spiritual and emotional benefits. In addition to yoga, she also employs reiki, crystals, intuitive abilities and a host of other tools to improve the energy of herself and those around her.


Comments